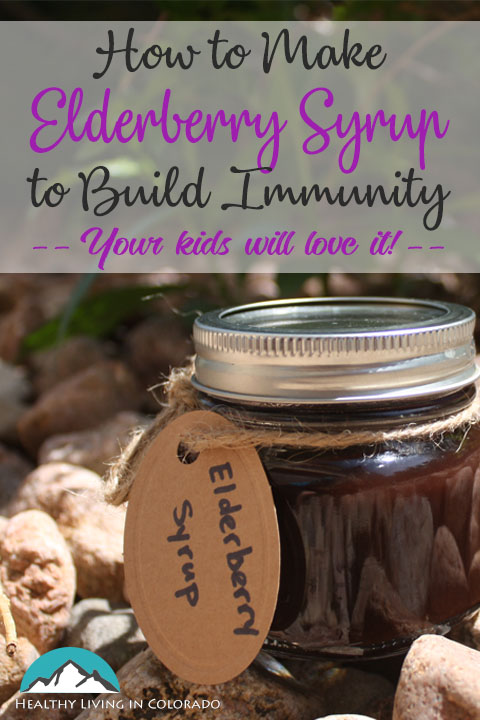
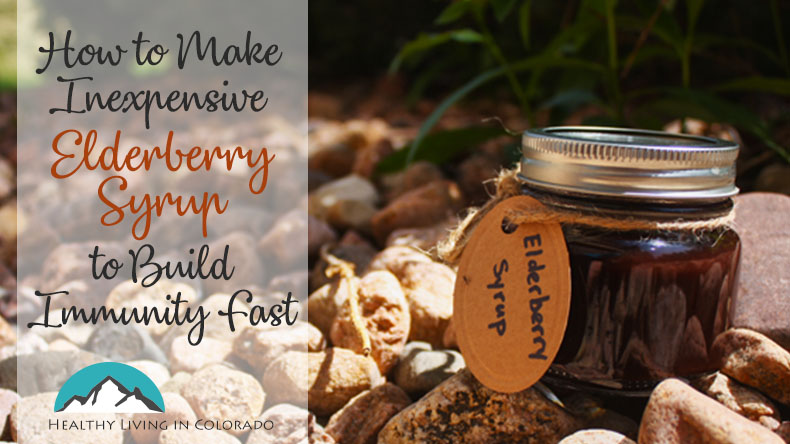
You can build immunity with DIY elderberry syrup this winter!

To read this article later, click “Save” on the picture to save to Pinterest.
Why Should We Take Elderberry Syrup?
Whether or not you have children, I think we can all agree building our immunity in the fall and winter is a good idea. We have kids who are constantly being exposed to germs, snot, sneezes, and the like. But even in office environments or at grocery stores, germs spread on door knobs, faucets, papers, food boxes, and so many other things.
Elderberry not only builds immunity, but also helps:
- reduce symptoms if you get sick.
- with congestion.
- lower blood sugar.
- ease allergies.
Elderberry syrup is a great way to get an immunity boost during the cold months, and it tastes great! Kids love it because of it’s sweet flavor (mine like it on pancakes), and parents love it because it helps keep the family healthy. There are several brands you can buy at health food stores, but they are pricey. You can make this one yourself for a fraction of the cost.
Here’s a Video Showing How to Make Elderberry Syrup
Ingredients for Elderberry Syrup
- 3 1/2 cups of water
- 2/3 cup dried elderberry
- 2 Tablespoons fresh or dried ginger root OR 3 drops of ginger essential oil
- 1/2 teaspoon cloves, clove powder, OR 4 drops of clove essential oil
- 1 teaspoon cinnamon powder
- 1 cup raw, unfiltered honey
Instructions to Make the Syrup
- Add all ingredients (EXCEPT honey and clove or ginger EO) to a saucepan and bring to a boil. If using clove or clove powder, add it now. I just wait to add essential oils until it’s cooled down a little bit because the essential oil will not be quite as effective if boiled.
- Cover and lower heat until it’s at a simmer. After about 45 minutes or an hour, uncover and see if the liquid is about half gone. When this occurs, remove from heat and let cool about 20 minutes.
- Pour through a strainer into a mason jar. You can press the elderberries with the back of a spoon to release juice if you wish.
- Discard the elderberries and let the syrup cool until it’s just a little warm.
- Add honey and stir or shake until it’s melted in well.
- Keep refrigerated for up to 3 months.
**Dosage during the winter months: For kids, take ½ teaspoon to 1 teaspoon. For adults, take ½ tablespoon to 1 tablespoon. If you do get sick, take the normal dose every 2-3 hours until you’re feeling better.**
You can get more ideas about how to make your own healthy remedies here.
Wasn’t that easy, inexpensive, and yummy? I hope this helps you stay well this season. I got the base for this recipe here, but just made small adjustments which are listed above.
Check out my post on how you can prevent a cold naturally here.
Please post your comments below, and let me know if it’s helpful!

Pingback: Best Ways to Beat the Winter Blues - DIY With My Guy
Oh I will definitely be trying this recipe. Sounds so yummy!
Oh, good! I hope it works well for you!
Adding cloves is such a great idea!! I’ll try that next time I make it. Elder berry is so wonderful for so many things.
I love elderberry syrup and this one looks like easy and fun to make. I will give a try!
I’ve heard so many amazing hints about elderberry, I’ll have to give this a try!
We love using our elderberry syrup in the sickness season! Looks like a great recipe! Thanks for sharing!